
Last Update: July 21, 2025
BY eric
eric
Keywords
🔌 Read This Before Connecting Power Cables to the MSI PRO Z790-P Series Motherboard
TL;DR:
Don’t connect both 8-pin EPS power connectors to the motherboard right away. Start with just one — preferably the CPU_PWR2 connector. Only connect both if you're planning to overclock or running a power-hungry CPU under heavy load.
Building a PC can be fun—but even for experienced builders, certain motherboards can throw curveballs. Here’s my story and a crucial lesson for anyone using the MSI PRO Z790-P WIFI (or similar Z790 boards):
When building a PC with the motherboard having two CPU power connectors, many users ask:
- "Do I need to connect both CPU power connectors?"
- "Which one to connect if only one is needed"
This board (MSI PRO Z790-P WIFI) is equipped with:
- CPU_PWR1: 8-pin EPS connector (primary CPU power)
- CPU_PWR2: 8-pin EPS connector (additional CPU power)
Both connectors are located near the CPU socket and are labeled clearly on the motherboard.
✅ My Experience & Recommendation
🛠️ My Friend's Entry-Level AI-Ready Machine Build
My friend asked me for help to build a somewhat entry-level AI-ready machine. Below are the parts he chose:
- CPU: Intel i9 12900KS 16 Core (LGA 1700)
- RAM: G.Skill 128GB (4x32GB) DDR5
- GPU: Gigabyte NVIDIA GeForce RTX 4070
- Motherboard: MSI PRO Z790-P WIFI
- Hard drive: Samsung 990 Pro 2TB PCIe-4.0 M2
- PSU: Gigabyte Gold 750W
🔌 Understanding the Gigabyte PSU Power Outlets
This Gigabyte PSU comes with three CPU/PCIe power source outlets on the modular interface. This design offers flexibility for powering both the CPU and GPU:
You can connect:
- Two separate cables to the CPU power connectors on the motherboard (CPU_PWR1 and CPU_PWR2).
- The third cable for the GPU, connected to the PCIe power input on the graphics card.
Also:
- Each 8-pin EPS connector can supply up to 336W (could be more) of power at 12V.
- Intel CPUs typically won't exceed that power limit under normal or even mildly overclocked conditions.
- The second 8-pin input (
CPU_PWR1orCPU_PWR2) is mainly for:- Extreme overclocking
- Power-hungry workloads like rendering or sustained AVX instructions
✅ PCIe Power Cables and Splitters
The PCIe power cable often comes with a splitter design, featuring:
- A single cable from the PSU that branches into two 6+2 pin connectors.
- This allows powering GPUs that require two 8-pin PCIe inputs, using just one PSU cable.
My Experience
My story
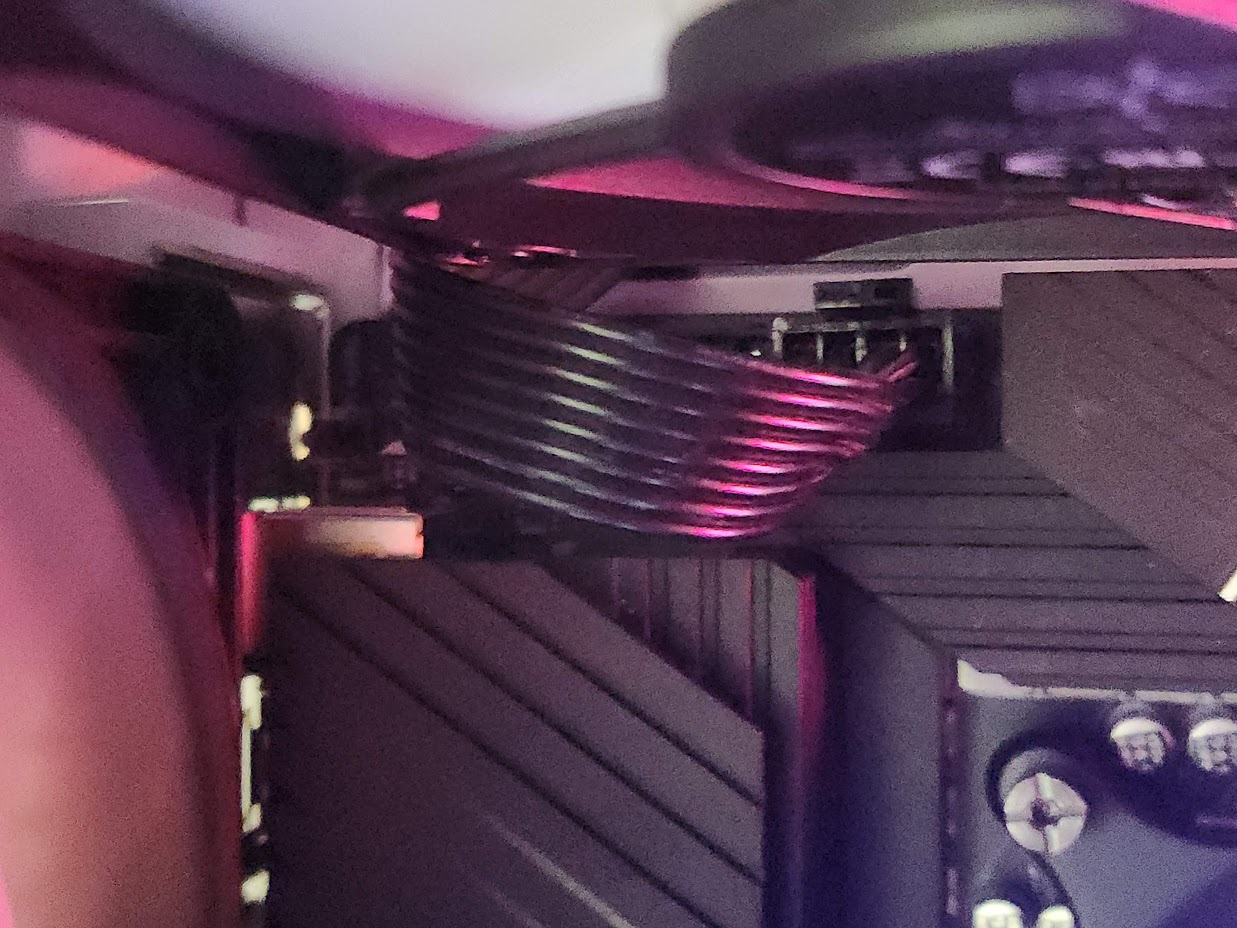
Putting all the parts together was straightforward — just lots of screwing things in mostly. I connected both CPU 8-pin power cables to the motherboard: CPU_PWR1 and CPU_PWR2.
Then came the shocker: the system wouldn’t power on.
As someone who’s built many PCs before, I was confident I had connected everything correctly. The motherboard was isolated properly during installation, and every cable was seated right. So I was left with two options: dead motherboard or faulty PSU.
To isolate the issue, I pulled apart two of my working machines to borrow their PSUs for testing—since I didn’t have a spare one lying around.
Stripping Down to the Bare Minimum
To simplify the setup for debugging, I stripped the system down to just:
- The CPU (without cooler)
- A single RAM stick
Here’s the key: during one test, somehow I only connected the 8-pin power cable to CPU_PWR2, leaving CPU_PWR1 unplugged. I used a screwdriver to short the power switch pins and power it on manually.
To my surprise, the motherboard LED debug lights lit up, and the RAM RGB turned on too. Viola — everything was working!
Finding Confirmation Online
Using the keywords CPU_PWR1, CPU_PWR2, and MSI Z790-P WIFI, I searched the web and came across a user forum post from 2023 describing the exact same issue. Clearly, I wasn’t alone. It seems this motherboard has a power initialization issue when both CPU EPS connectors are used without the system being under heavy load or overclocked.
Key Takeaways
-
Don’t connect both 8-pin CPU power cables right away.
Start with just one — preferably CPU_PWR2 — especially if you're not planning to overclock. -
Debug with minimal setup: CPU + one RAM stick + screwdriver as power switch = reliable test.
-
The ATX power cable from Gigabyte PSUs is difficult to remove from the motherboard. Consider a different PSU or a more flexible ATX cable if possible.
Final Recommendation
Theoretically, the system should draw power from both connectors as needed, and usually it will can only use what it requires. There is no harm or disadvantage in connecting both — it should:
-
Distributes power load more evenly.
-
May provide marginally better power stability.
-
Has no impact on performance unless you are pushing CPU power limits.
So even if you're planning to overclock, I recommend:
-
Start by connecting only one 8-pin power cable — preferably into
CPU_PWR2. -
Boot the system and verify stability under normal usage or mild overclocking.
-
If you experience:
- Power instability
- System reboots under full CPU load
- Overclocking instability
Then, connect the second 8-pin power cable into
CPU_PWR1to provide additional power headroom.
🔍 Why Not Connect Both Cables Right Away?
In my experience:
- For non-overclocked or moderately overclocked CPUs (even Intel i9 K-series), a single 8-pin cable is usually sufficient.
- Some users might face boot inconsistencies when connecting both power inputs if their PSU doesn't have equally strong EPS power rails.
- Keeping it simple at first helps in isolating power-related issues during initial setup.
✅ Conclusion
This issue isn’t well-documented in official manuals, but it’s real and can waste hours of your time. Hopefully, my experience helps someone avoid a frustrating build.
Latest Articles


The 4 GB Card You Already Own Can Reason Now
June 17, 2026
The Small Model's Real Job Is Dispatch, Not Work
June 15, 2026
What a Native Tool Call Actually Is
June 15, 2026


Comments (0)
Leave a Comment